Vegan Chocolate Chip Cookies
This post may contain affiliate links. Read the affiliate disclosure here.
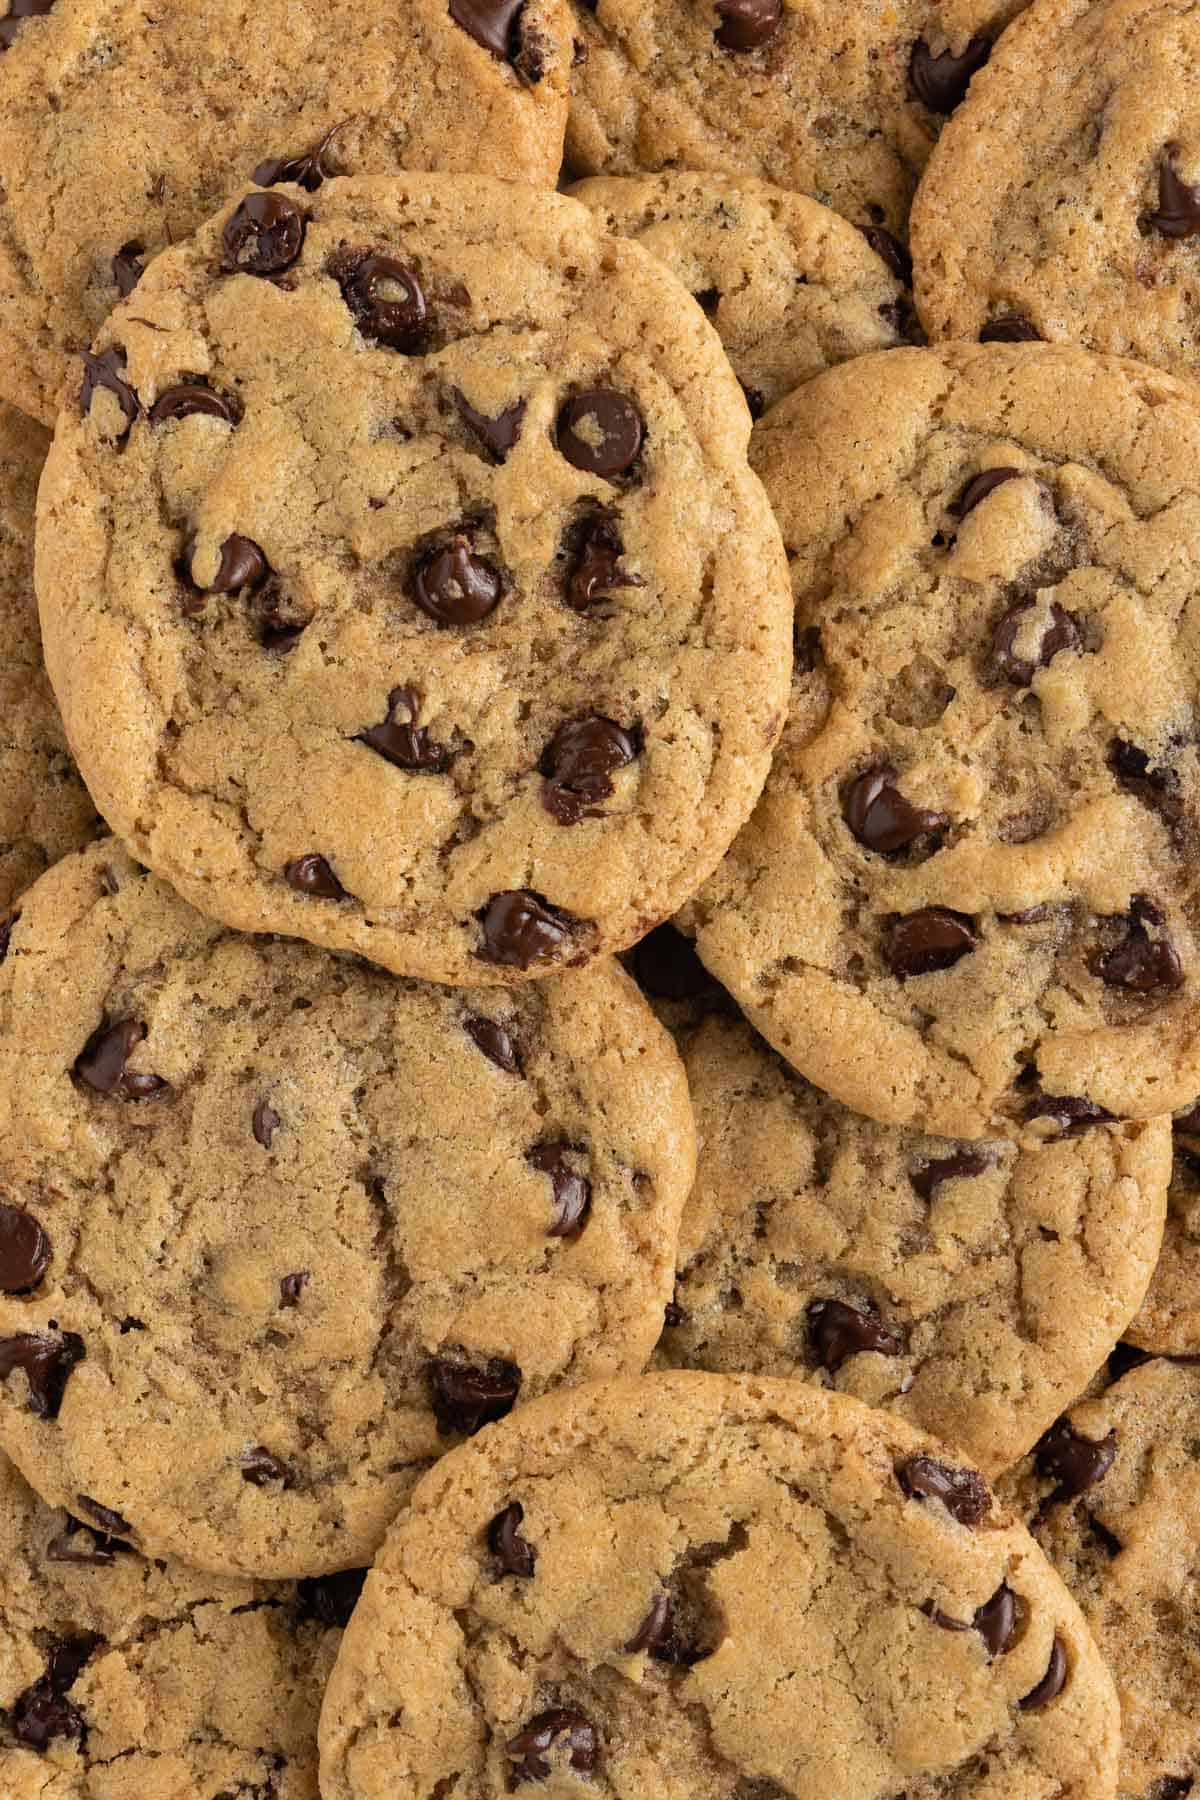
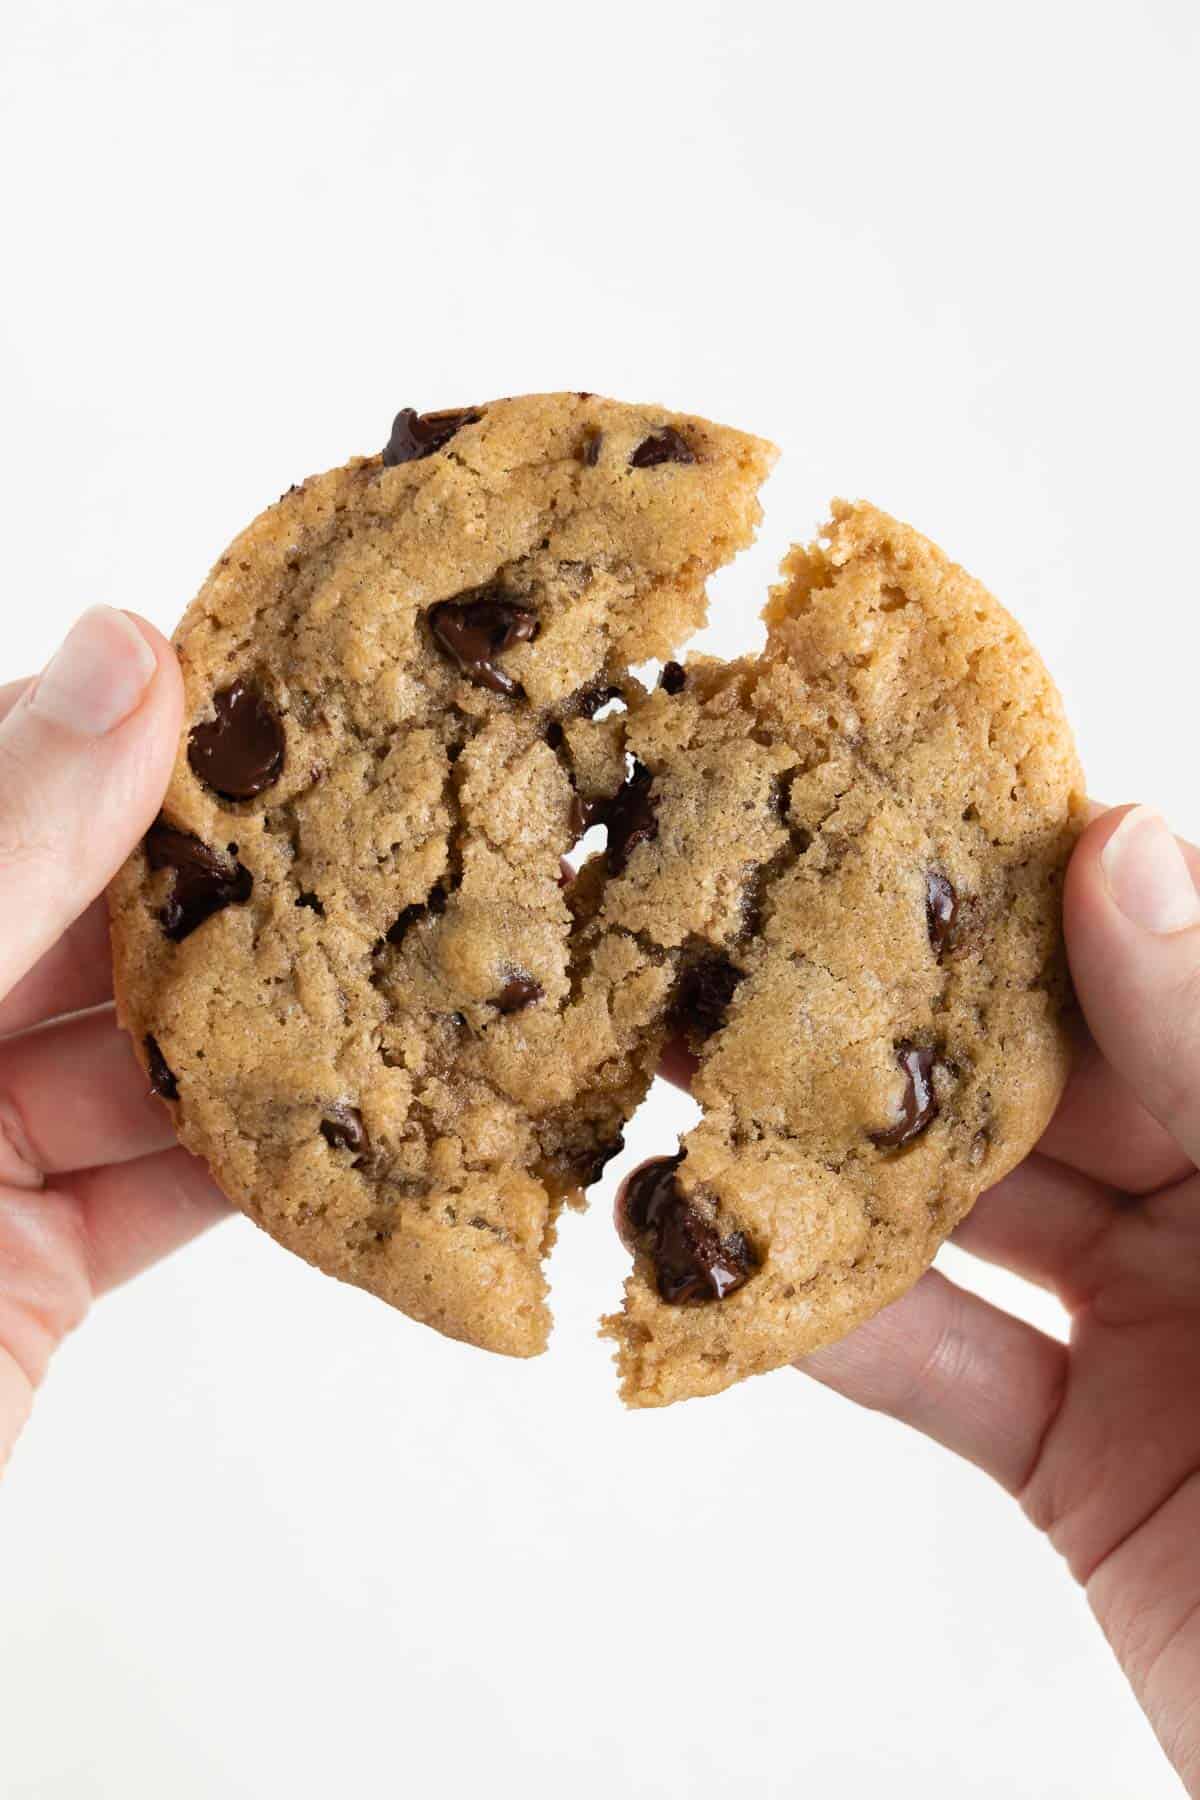
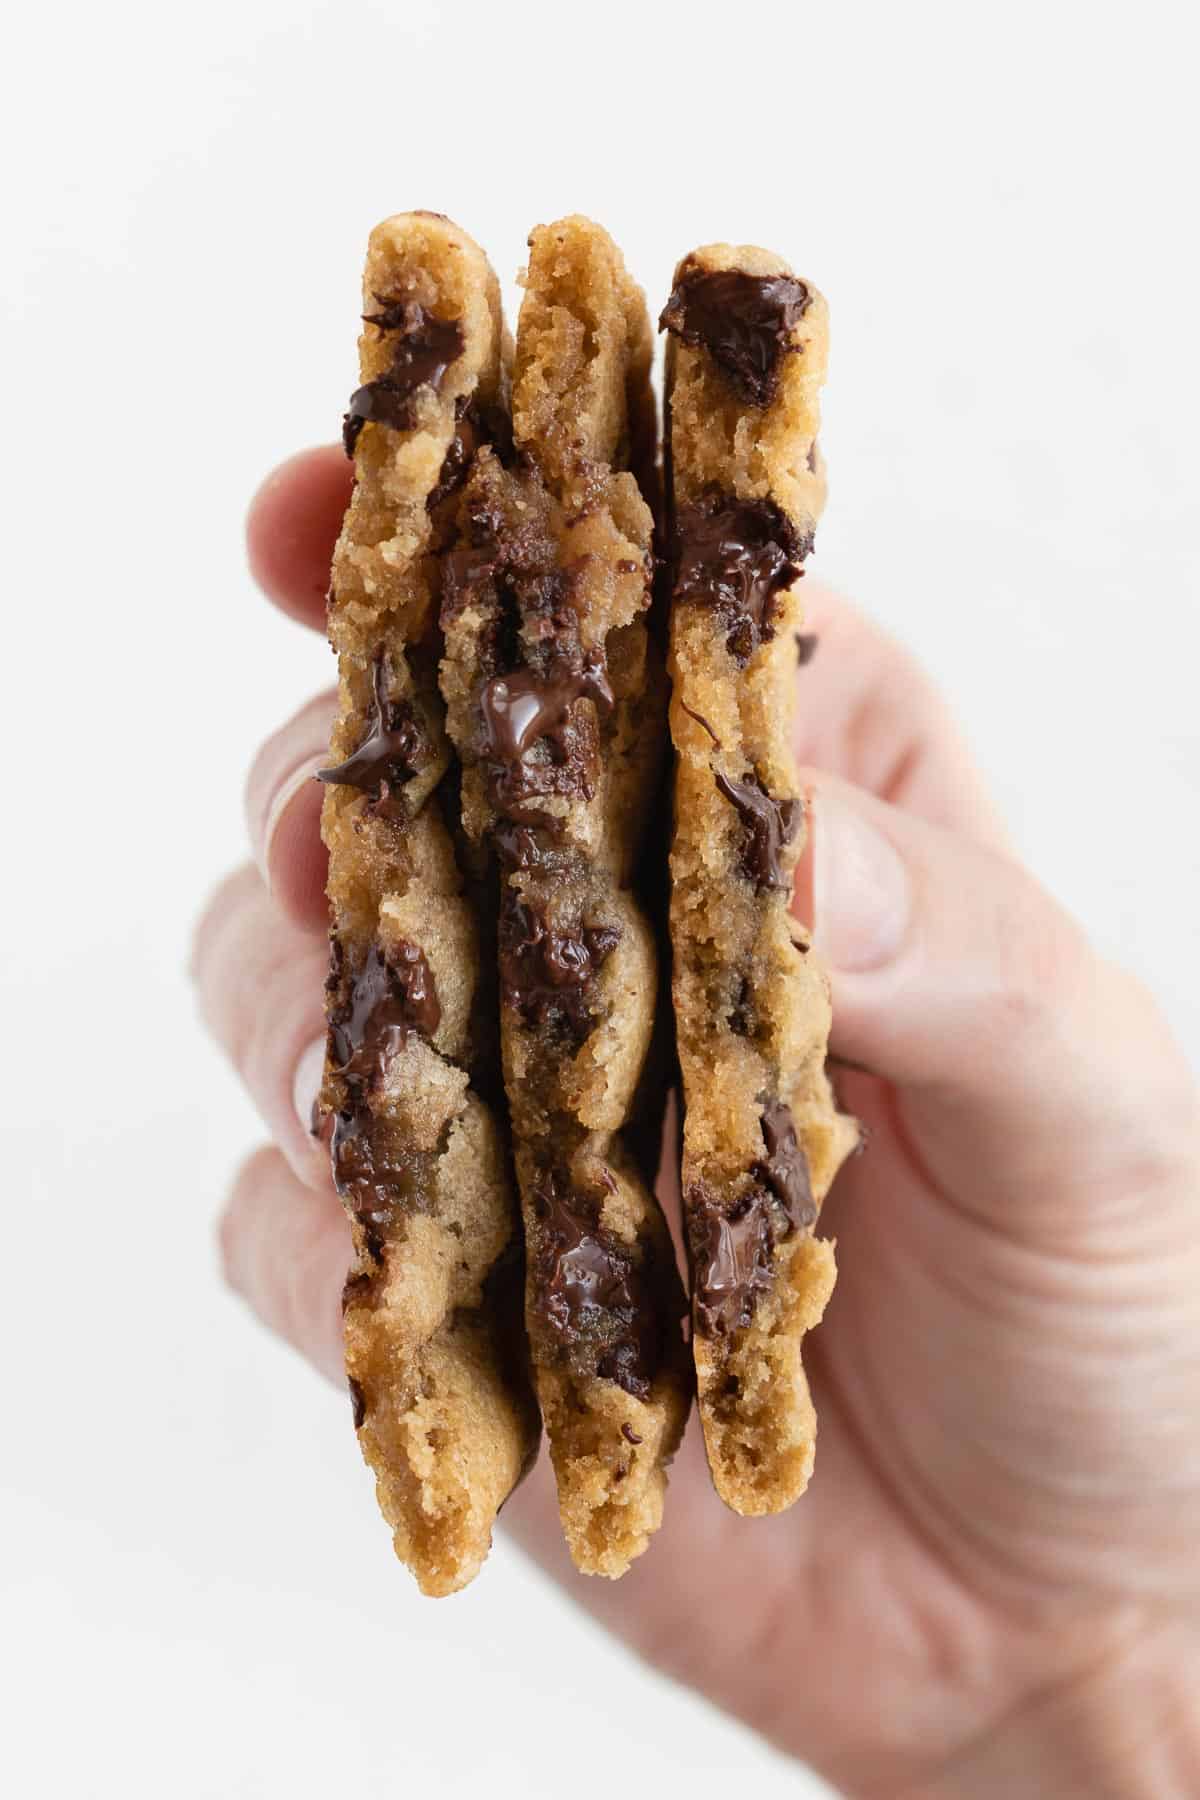
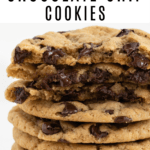
The BEST vegan chocolate chip cookies ever! They are crispy on the outside yet soft, chewy, and ooey gooey in the center. Each bite is loaded with pockets of melted chocolate and full of rich flavor. This vegan cookie recipe is made with pantry staples and easy-to-follow instructions. It’s a guaranteed crowd-pleaser for vegans and non-vegans, alike!
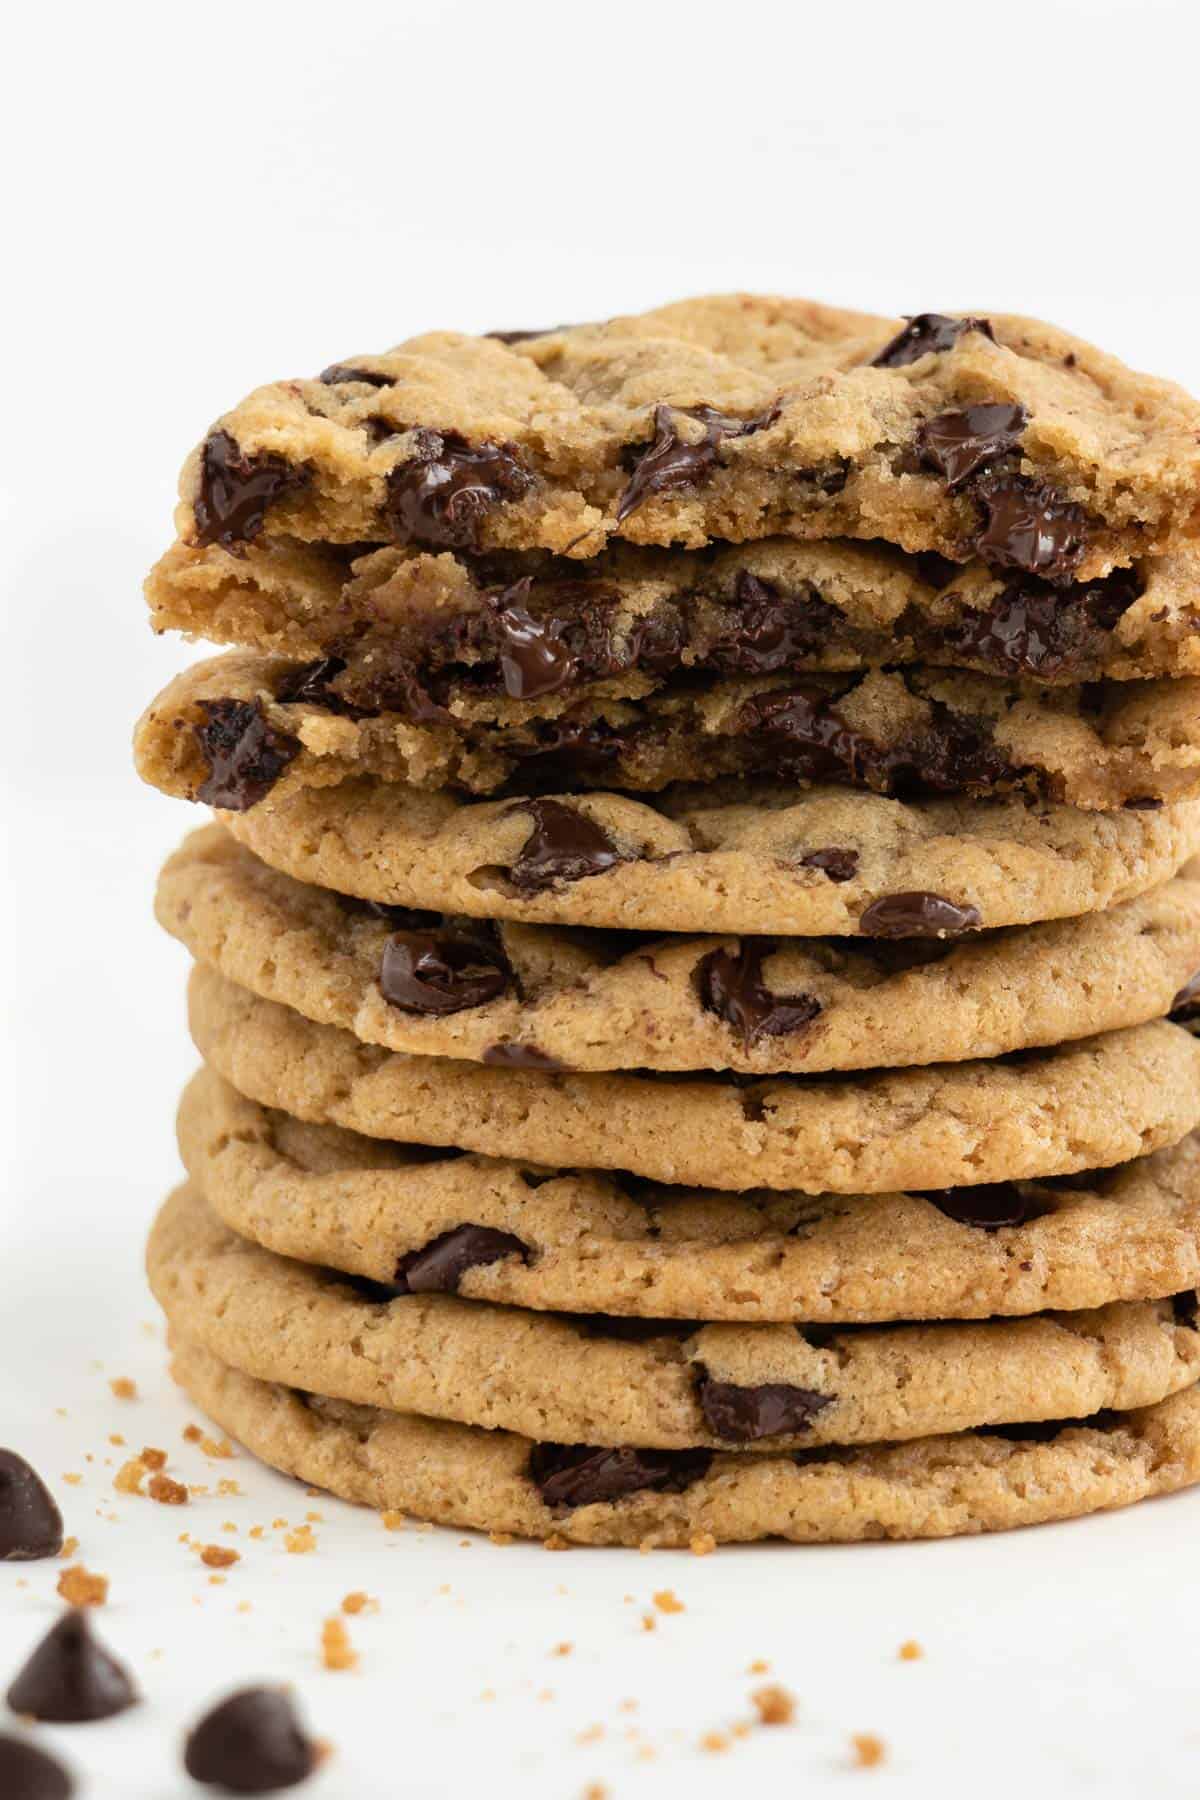
Are you in need of a foolproof recipe for classic vegan chocolate chip cookies? Look no further; this will be your new go-to recipe. In fact, these cookies are my absolute favorite dessert. I’m a firm believer that you can never pass up a good old fashioned chocolate chip cookie. I’d choose these over the most extravagant dessert on any menu. They’ve got that childhood classic, incredibly delicious, tollhouse-cookie flavor paired with a 2020 “I’m a vegan” type of attitude, ya know? In translation: these contain no eggs, no dairy, and a whole lot of love!
I consistently bake these cookies for my non-vegan family members and they always adore them. I promise, nobody will be able to tell these cookies are made without eggs and dairy. They’re just as good – dare I say, better? – than the traditional thing.
These classic chocolate chip cookies are:
- Vegan, vegetarian, dairy-free, and egg-free
- Crispy on the outside yet gooey and soft on the inside
- Loaded with melty chocolate chips in every bite
- Super easy to make / minimal steps required
- Made with pantry staples and no funky ingredients
- Kid-approved and non-vegan approved
- Best enjoyed fresh out of the oven or paired with ice cream (thank me later!)
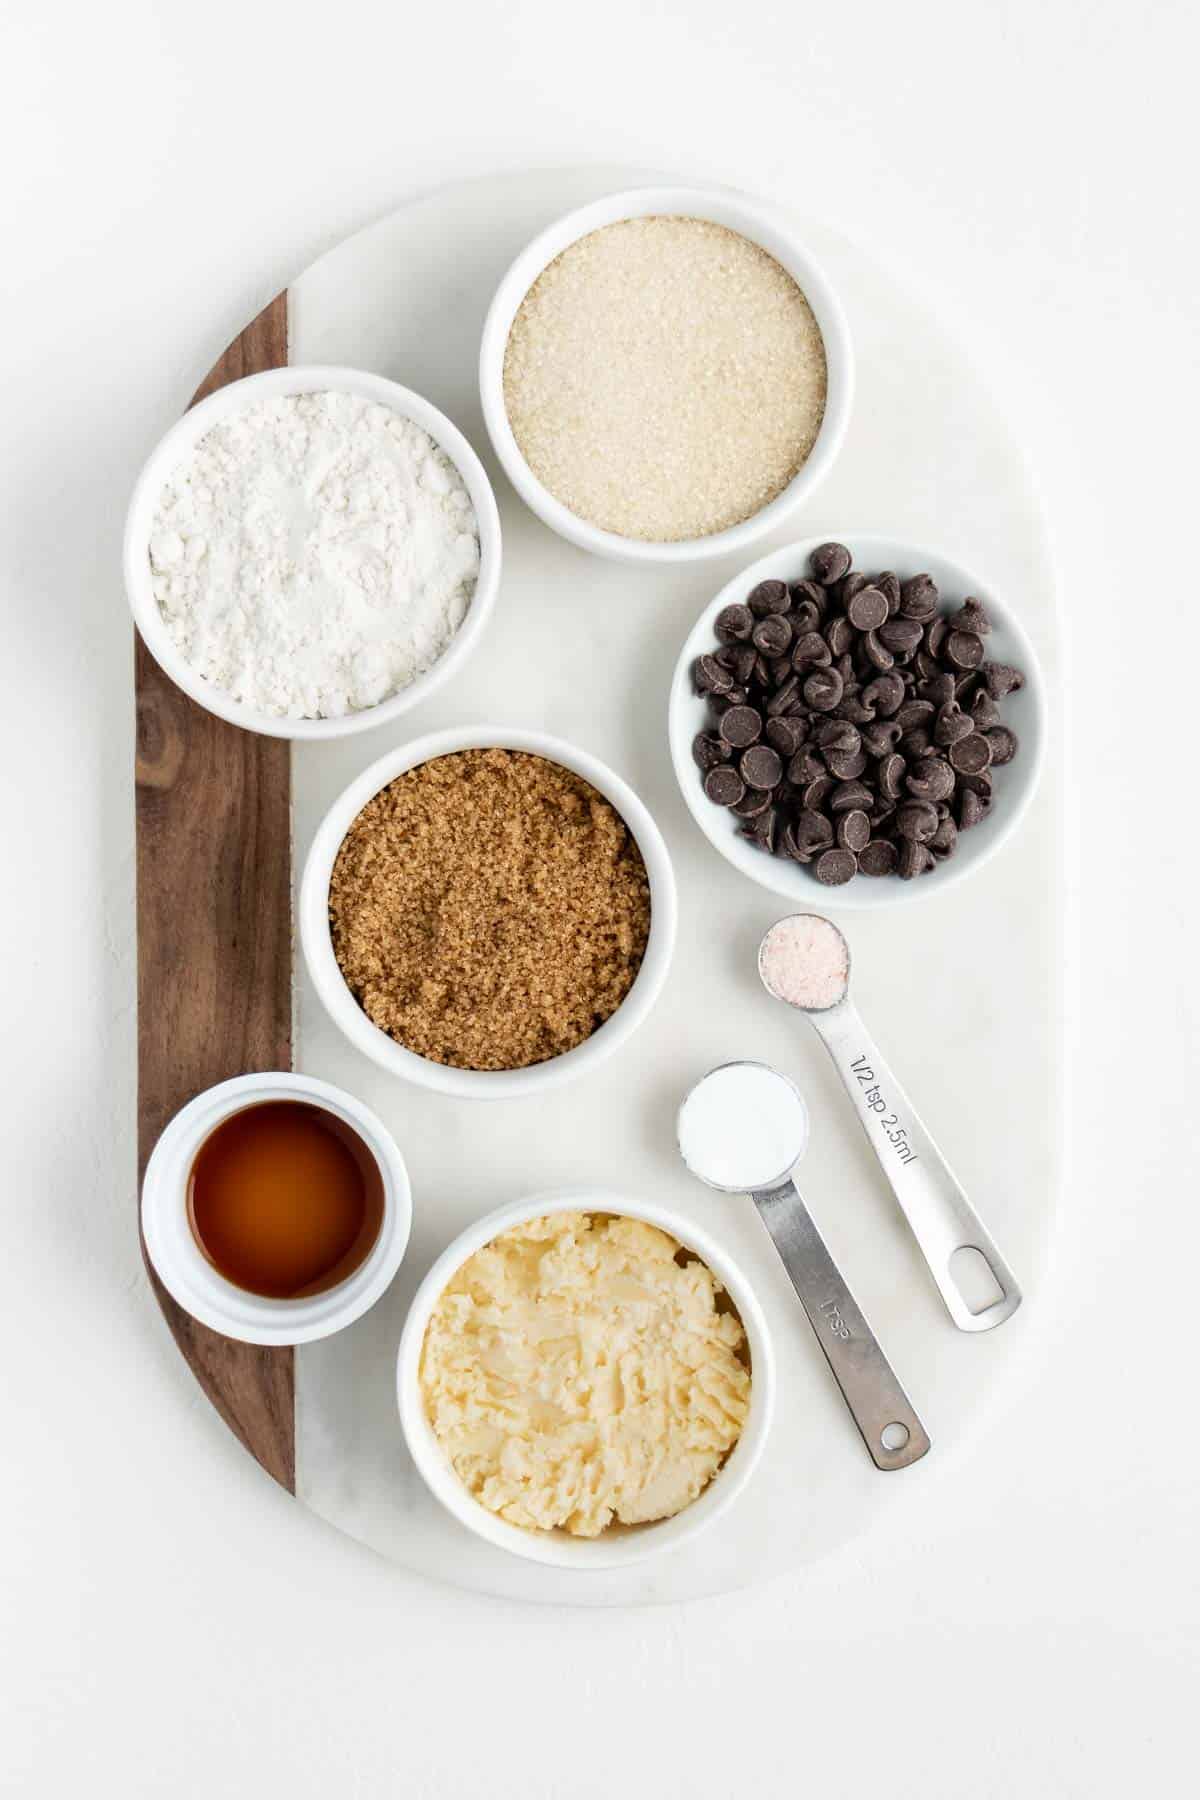
What are vegan chocolate chip cookies made of?
- Vegan butter: These chocolate chip cookies are made with vegan butter. I highly recommend using vegan butter from a tub instead of buttery sticks. I use the Earth Balance brand.
- Brown sugar: Brown sugar gives the cookies a chewy texture, more moisture, and a slightly caramelized flavor. In particular, we’ll use light brown sugar. Be sure to pack it when measuring.
- Sugar: Granulated sugar or cane sugar is paired with the brown sugar to create a perfectly sweet flavor.
- All-purpose flour: All-purpose flour, otherwise known as plain flour, is used for this cookie recipe. I have yet to try using gluten-free all-purpose flour, but I’ll keep you posted.
- Vegan chocolate chips: A dessert recipe isn’t complete without chocolate, and this one’s no exception to that rule. Use traditional vegan chocolate chips or a combination of mini chocolate chips + vegan chocolate chunks.
- Non-dairy milk: Any type of plant-based milk can be used – such as almond milk, soy milk, cashew milk, or coconut milk.
- Vanilla extract: Don’t skip out on the vanilla extract. It’s essential for that warm, rich, classic cookie flavor we all love and adore. You can either use pure vanilla extract or vanilla bean paste.
- Baking soda: Baking soda helps the cookies rise while baking.
- Salt: Just a dash is needed to balance the sweet flavors from the sugar and chocolate.
How to make the best vegan chocolate chip cookies
For the full ingredients list and step-by-step instructions, scroll down to view the recipe card at the bottom of the page.
First, we’ll add the butter and sugars to a bowl. Using a handheld mixer or stand mixer, cream the ingredients together until light and fluffy (about 1-2 minutes).
Next, mix in the milk and vanilla extract. Then, add flour, baking soda, and salt. Fold the ingredients together to combine.
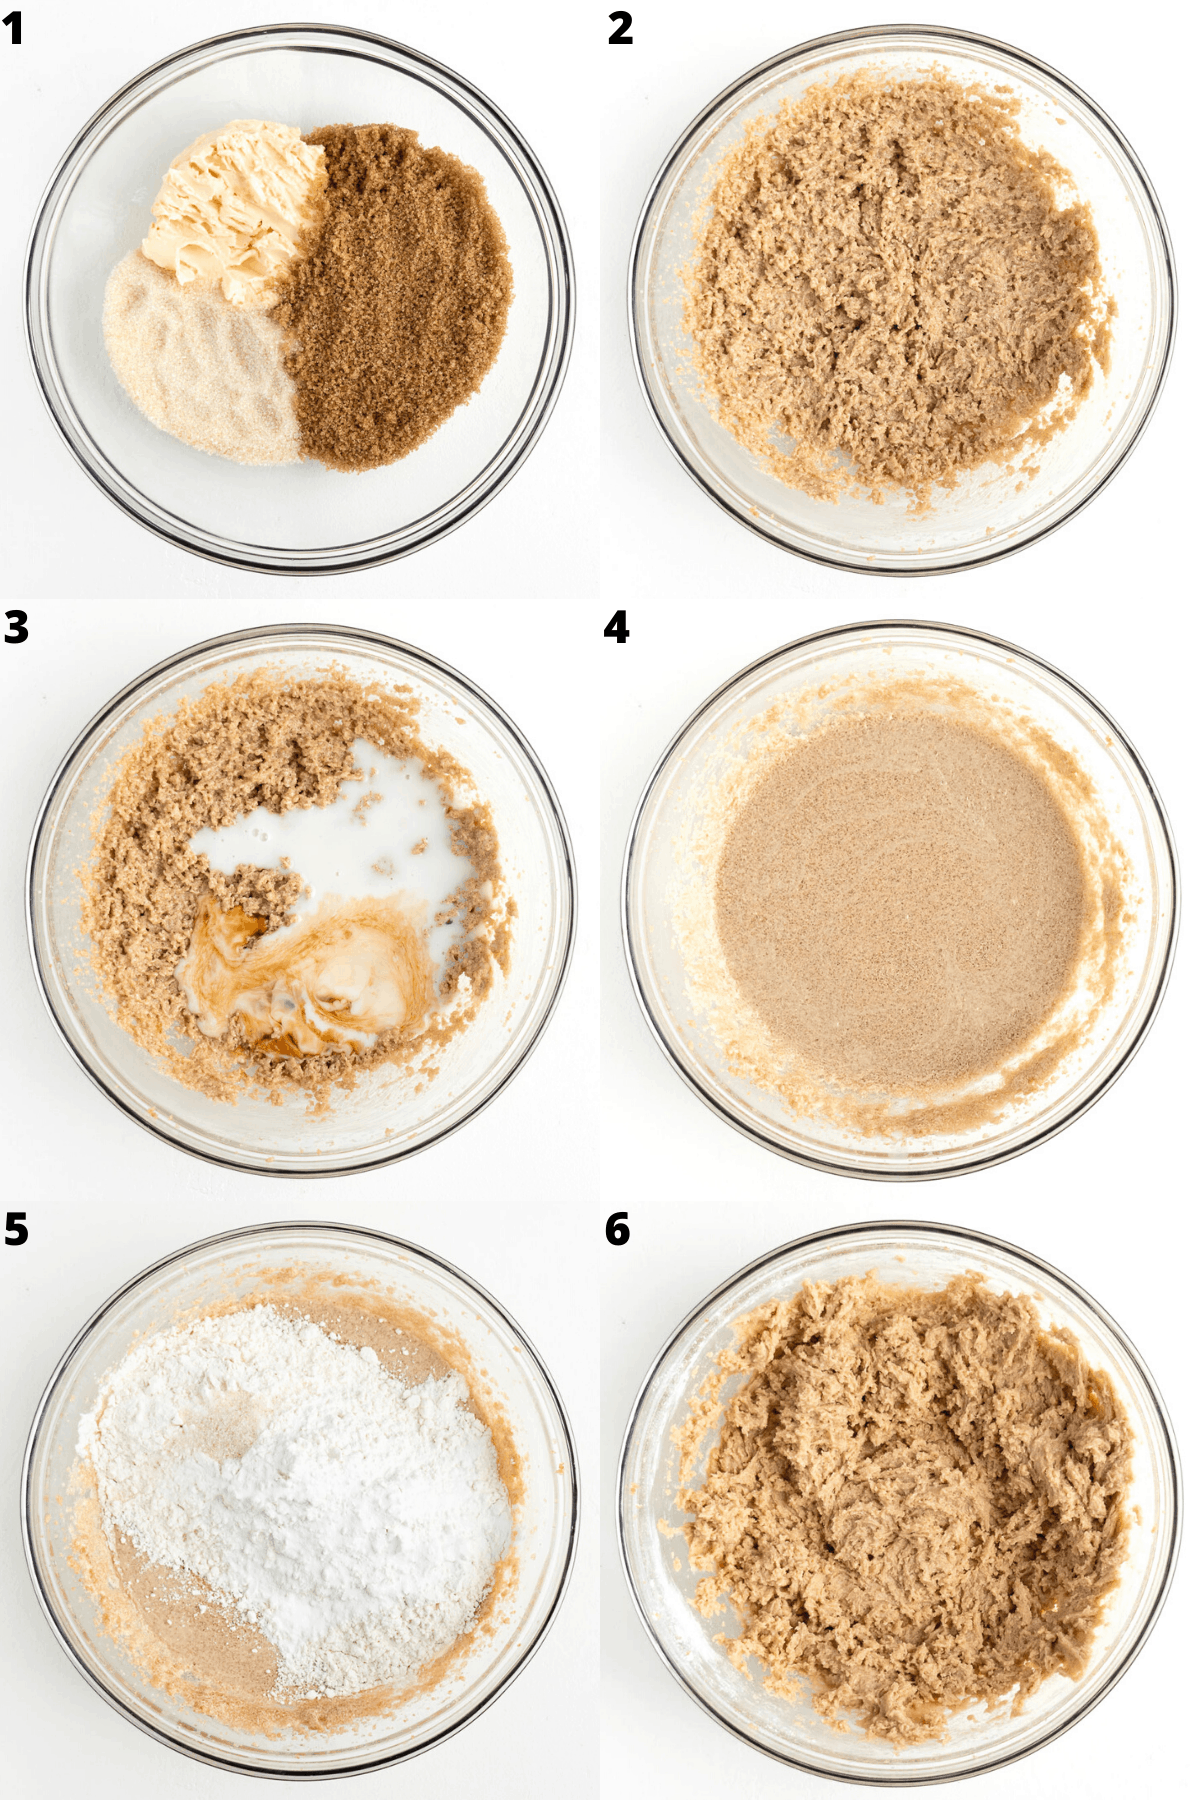
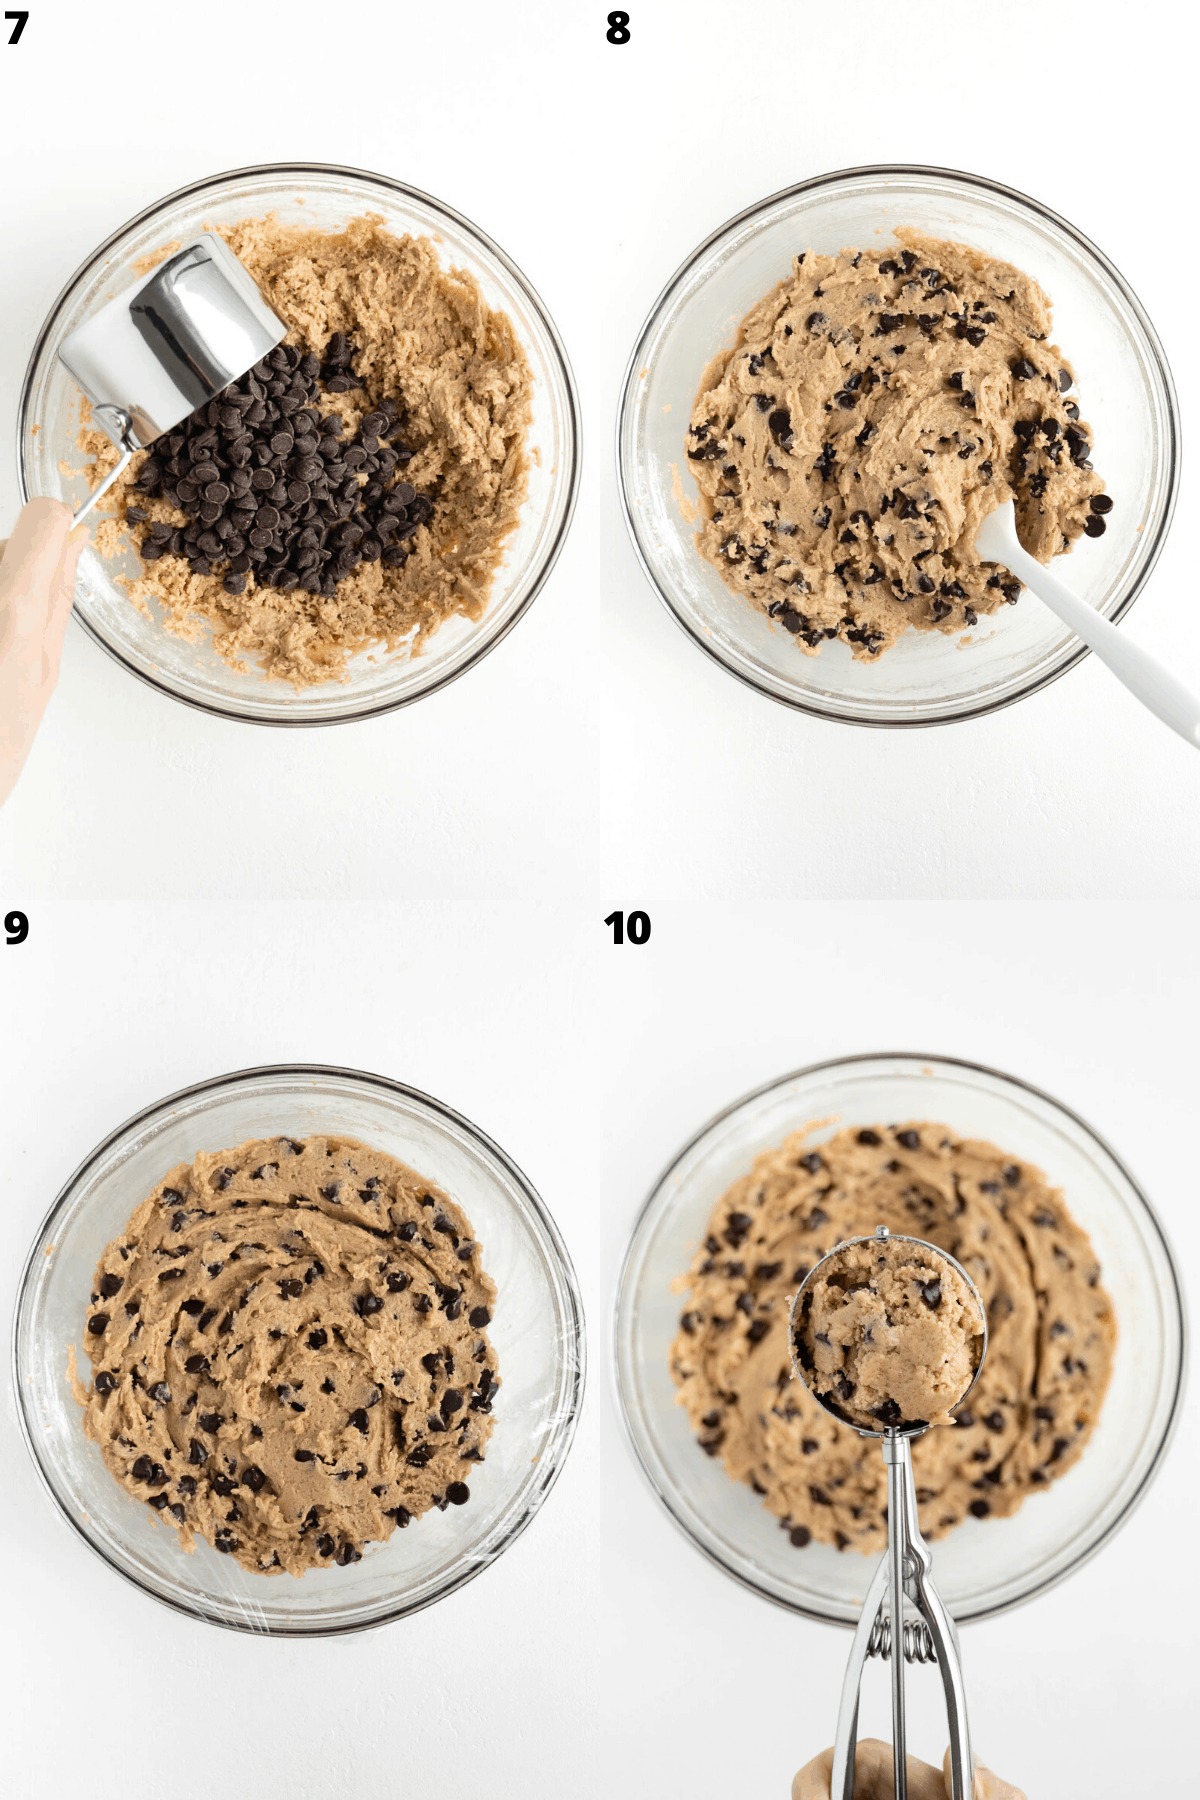
Mix in the chocolate chips, then cover the cookie dough with cling wrap and store in the refrigerator for at least 30 minutes. After, scoop the cookie dough into 1-inch rounds. Use clean hands to roll the dough into balls. Place onto a baking sheet lined with parchment paper or lightly greased with oil.
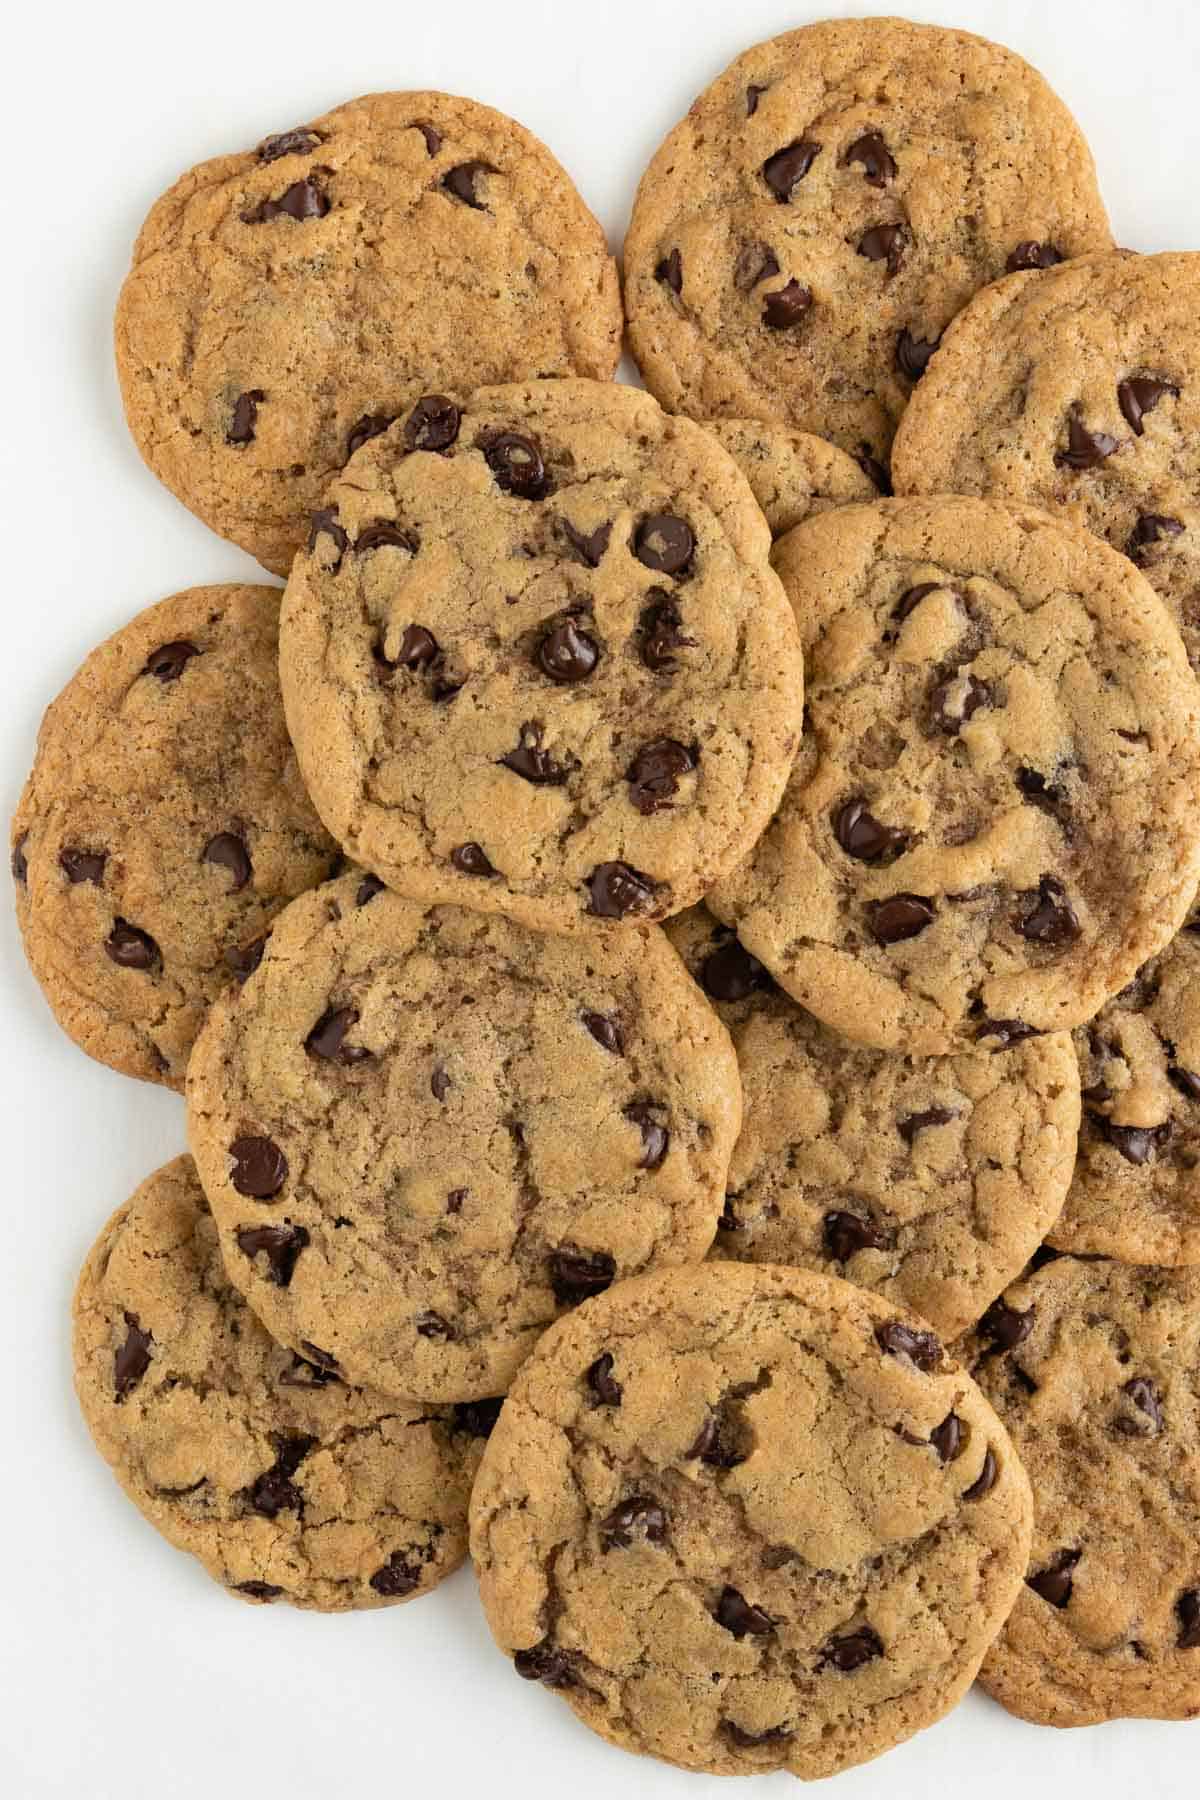
Bake the vegan chocolate chip cookies for about 12 minutes on the middle rack in your oven. You should remove them from the oven while the center appears underbaked! They will de-puff and firm up while cooling (see tips below for making your cookies perfectly soft and chewy). Let cookies cool for 5 minutes on the baking sheet before devouring. Enjoy!
What is the secret to soft cookies?
For perfectly soft and ooey gooey cookies, do not over-bake them. The cookies should be removed from the oven when they appear slightly under-baked. Seriously, they should look as if they still need a couple more minutes in the oven. (In reality, they don’t!) If you want to achieve a soft and chewy center, remove the cookies at this point and allow them to cool for 5-10 minutes on the hot baking sheet. Your cookies will firm up a bit and de-puff while cooling. After 5-10 minutes, they will have a perfectly crispy exterior with a soft, gooey, and warm interior.
I highly recommend baking these vegan chocolate chip cookies on the middle rack in your oven. From my experience, the cookies are crispier and crunchier when baked on a lower rack. If this is your ideal type of cookie, then go for it! But, to achieve a truly soft and chewy texture, use the middle rack only.
Why should you chill cookie dough in the refrigerator?
I know, it’s an annoying step. You read a recipe and think, “Ok, I can do that!” until you stumble upon the dreaded instruction to chill your dough. But, refrain from that heavy sigh and eye roll. We chill our dough for good reason here 😉 You don’t want to skip out on this step.
Why should you chill cookie dough in the refrigerator, you ask? What’s the point? Is it worth it?
- Better flavor. When you chill cookie dough in the refrigerator, the ingredients have extra time to come together before baking. This leads to a more concentrated, sweeter, and richer flavor.
- Less spread. Chilled cookie dough allows the butter to solidify and gives the flour time to hydrate. In turn, this leads to less spread when baking. The longer you chill the dough, the less the cookies should spread.
- Better texture. Chilled cookie dough leads to a chewier texture rather than a cakey texture.
How long should you chill cookie dough?
Are you short on time or just totally impatient? (No judgment, I hate waiting around for the dough to chill, too!) Well, even just 30 minutes in the refrigerator is better than nothing. I recommend allowing the cookie dough to chill for one hour or longer, but 30 minutes is enough to produce positive results. Alternatively, cookie dough can be stored in the refrigerator for up to three days – just make sure it’s well wrapped/covered tightly with cling wrap.
Is vegan cookie dough safe to eat?
Okay, so the pre-baked cookie dough is really damn good. Like, ‘let’s eat the whole entire bowl before it makes it into the oven’ type of good. Buuuut, let’s err on the side of caution and try not to eat the raw cookie dough, alright?
We’ve all heard that it isn’t wise to consume raw cookie dough. Many people believe this is due to raw eggs. If that’s the case, vegan cookie dough should be totally safe to consume, right? Unfortunately, no. It is still not safe to consume vegan cookie dough. Yes, raw eggs pose a risk, but so does raw flour. Raw flour can contain harmful bacteria that leads to food poisoning – and nobody wants a fun night of baking turning into a tummy ache or worse.
If you’re in the mood for some safe and edible cookie dough, check out these recipes:
- Edible Vegan Cookie Dough
- Edible Funfetti Cookie Dough (Vegan)
- No Bake Cookie Dough Bars
- Vegan Chocolate Chip Cookie Dough Cups
- Oatmeal Cookie Dough Balls
Can you freeze raw chocolate chip cookie dough?
Yes, you can definitely freeze the cookie dough for later. I recommend rolling the dough into balls, then placing the balls in your freezer for 30 minutes. After, transfer them to a ziplock bag and squeeze out as much air as possible before sealing. Store the bag in the freezer for up to one month. Keep in mind frozen cookie dough will require a few additional minutes in the oven while baking.
How to bake cookies at high altitude?
Did you know baking cookies at high altitude can cause them to overspread and brown too much? If you are baking at 3,500 feet or more above sea level, you may need to make adjustments. To prevent your cookies from overspreading, try adding 2 tbsp flour and removing 2 tbsp sugar from the recipe. Read Baking and Cooking at High Altitudes to learn more.
More vegan cookie recipes
If you try these Vegan Chocolate Chip Cookies, please let me know your thoughts by leaving a rating and comment below! Ready for more? Subscribe to my newsletter or follow along on Instagram and YouTube!
Print
Vegan Chocolate Chip Cookies
- Prep Time: 30 minutes
- Cook Time: 15 minutes
- Total Time: 45 minutes
- Yield: 15 cookies 1x
- Category: Dessert
- Method: Bake
- Cuisine: American
- Diet: Vegan
Description
The BEST vegan chocolate chip cookies ever! They are crispy on the edges yet soft, chewy, and gooey on the inside. These cookies are loaded with pockets of melted chocolate in every bite.
Ingredients
- 1/2 cup vegan butter, slightly softened (from a tub, not sticks)
- 1 cup light brown sugar, packed
- 3 tbsp granulated sugar
- 1/4 cup plant-based milk
- 2 tsp vanilla extract
- 1 3/4 cups all-purpose flour (240g, see notes*)
- 1 tsp baking soda
- 1/2 tsp salt
- 1 cup vegan chocolate chips
Instructions
- Add vegan butter, brown sugar, and granulated sugar to a large bowl. Using a handheld mixer or stand mixer, cream the butter and sugar together just until combined (about 1-2 minutes). Add the plant-based milk and vanilla extract. Cream together once more to combine.
- Add the all-purpose flour, baking soda, and salt to the bowl. Fold the ingredients together until evenly combined. Then, stir in the chocolate chips.
- Cover the cookie dough with cling wrap and place in the refrigerator to chill for at least 30 minutes.
- Preheat the oven to 350 degrees F. Line a large baking sheet with parchment paper.
- Scoop the cookie dough into balls and transfer to the baking sheet. I recommend creating 15 cookies.
- Bake cookies for 12 minutes on the middle rack in your oven. You should remove them from the oven while the center still appears underbaked. Once you remove them from the oven, let the cookies rest for 5 minutes on the baking sheet. They will de-puff and firm up while cooling. Enjoy!
Notes
- *Measure the flour correctly. Flour should never be scooped or packed into a measuring cup. Instead, gently spoon the flour into the measuring cup and scrape off any excess using a flat object (such as the edge of a knife). For accurate measurements, I highly recommend weighing the flour. The original recipe calls for roughly 240 grams all-purpose flour.
- For soft and chewy cookies, do not over-bake them. Remove the cookies from the oven while they still appear slightly underbaked. Let the cookies cool on the warm baking sheet for 5 minutes before enjoying. During this time, they will firm up and de-puff. The end result will have a soft and chewy center with crispy golden edges.
- To prevent spread: Whipping too much air into the cookie dough will cause cookies to collapse and spread. The butter and sugar should be creamed until combined, only about 1-2 minutes. Also, chilling the dough in the refrigerator for 30 minutes will prevent spread.
- If you are baking at high altitude: Did you know baking at high altitude can cause your cookies to overspread and brown too much? If you are baking at 3,500 ft above sea level or more, you may need to make adjustments. Try adding 2 tbsp flour and removing 2 tbsp sugar.
Nutrition
- Serving Size: 1 cookie
- Calories: 245
- Fat: 11g
- Saturated Fat: 5g
- Carbohydrates: 37g
- Fiber: 1.5g
- Protein: 3g
This post contains affiliate links. If you make a purchase through one of these links, I earn a small commission at no additional cost to you. I only recommend products I personally use, trust, and love!





Hands down, best vegan chocolate chip cookies I’ve ever tried!!! They stay so chewy but still crisp up around the edges. This will have a permanent spot in my recipe book!!!
Thank you so much, Danna!! What a great comment to receive. Enjoy! 🙂 xo
These cookies were PERFECT. Deliciously crisp around the edges but delightfully soft in the center. My extremely picky twelve year old said they were amazing! You could never tell they were plant based.
I also love the clean, easy to read layout of the blog. The website design is beautiful.
Thank you so much, M! So so happy to hear you and your 12 year old enjoyed the cookies 🙂 Also, thanks for your sweet words about the layout of my blog! I appreciate it. xoxo
Hello!! My cookies got too spread but the taste was amazing! I put the dough in the fridge for half an hour. Do you think it could be because of the volume of brown sugar? In Spain we don’t have a very ground brown sugar … could you give me the measures in grams? Many thanks!!
Hi, Maria! I’m so glad you enjoyed the taste of these cookies 🙂 There are several things that can cause too much spreading – including too much butter, too little flour, too much sugar, not chilling the dough, using expired ingredients, and variations between brands for the ingredients. Since you’re in Spain, I’m probably not familiar with the brand of vegan butter you’re using. That could be causing the issue alone. If/when you make this recipe again, I recommend adding 3-4 tbsp of additional all-purpose flour. That should help stop the spread. For future reference, 1/2 cup packed brown sugar is about 100 grams. Enjoy! xo
Would like to add in natural peanut butter, do Would you recommend using less butter if I do so?
If so, any idea of the ratios to use?
I have never added peanut butter to this recipe, so I’m not sure how it will turn out! Whenever you’re replacing butter for peanut butter, you’re supposed to combine equal parts peanut butter and oil. Then, use that mixture as a 1:1 replacement. Vegan butter could probably act as the oil here. Therefore, I’d recommend using 1/4 cup vegan butter and 1/4 cup peanut butter. Let me know how it goes! 🙂
I LOVED this recipe. Best cookies I’ve made so far
I’ll be trying them with coconut oil today and will update you 🙂
Thanks so much, Sophia! Looking forward to hearing how the coconut oil substitution works for you 🙂
Can I substitute the vegan butter with vegetable shortening?
Hi, Brielle! I haven’t tried this recipe with vegetable shortening. I always use the Earth Balance butter spread, which is very similar. You should be able to make that substitution with similar results, but I must say I haven’t tried it myself! 🙂
I’ve used this recipe probably 10 times now. Perfect every time!!! This will be my go-to for life
Yay!! Thank you, Erin! 🙂
Best vegan cookie I’ve ever had. I do substitute the flour for a GF all purpose mix.
Woohoo! So glad to see this great review. 🙂 Thanks, Jen! Enjoy!
I made these cookies last night and they really are the best cookies I’ve ever made! I prefer a soft, chewy cookie – so I baked them for 11 mins then let them sit on the sheet for 5 mins. I also didn’t have parchment paper -but I think the amount of butter in the cookies really saved them from sticking 🙂
Thank you so much, Rose! I’m thrilled to hear you loved these vegan chocolate chip cookies 🙂
Great recipe! Have used it numerous times now and they always come out great and also really delicious!
Thank you, Mandy! I’m so happy you’re loving this recipe! 🙂
So yummy. Thanks
Thank you, Laura! Enjoy! 🙂
Why should we only use vegan butter from a tub and not a stick? All I have is vegan butter from a stick.
Hi, Bianca! Vegan butter sticks will work, but I just recommend vegan butter from a tub. It produces better results. Enjoy! 🙂
I think the weighing scale of the flour is incorrect when you double or triple the recipe. Still a good cookie recipe!
Hi, Deja! Thank you for letting me know. 🙂 I just updated the notes and added a reminder to adjust the weight if you 2x or 3x the recipe. I’m curious – what weight did you use? Did you 2x or 3x the recipe?
These are the best chocolate chip cookies I’ve ever had…and I have tried SO many….the famed ‘Tasty’ vegan cookies, etc. These are by far my favorite and so easy. I used a scale for the flour. Thank you!!
Thank you so much, Michelle!! I’m thrilled to hear you’re loving these vegan chocolate chip cookies 🙂 Enjoy!!
Hi! Is it ok to use vegan margarine instead of vegan butter? I know the fat content is different, so I wanted to know what you think. Thanks!
Absolutely! Actually, I prefer using vegan butter from a tub (aka margarine) instead of the vegan butter sticks 🙂 Enjoy!
Ok, thanks so much!
Hello! When I make cookies, they tend to be round and not flat as pictured. Any helpful tips? Plz lmk, I’m baking them tmr.
Hi, Beth! You are likely using too much flour or whipping too much air into the butter/sugar mixture. Be sure to scoop your flour into the measuring cup rather than pack it in. It’s easy to accidentally use way too much flour otherwise. Don’t overmix the butter/sugar. It should only take 1-2 minutes, just until they are creamed together. Enjoy! 🙂
These are the best vegan chocolate chip cookies!!! This is my third time making them. I did reduce the amount of sugar. I only used 1 cup and replaced the brown sugar with coconut sugar. Thank you for the recipe! ❤️❤️❤️🍪 🍪 🍪
Thank you, Sabina! Glad that sugar substitution worked well for you! 🙂
Perfect cookies every time! I’ll be honest I don’t put the mixture in the fridge so they spread out a bit more but I like them that way. These cookies don’t last long in my house!!
Thank you, Izzy! I’m happy you’re loving these cookies. I don’t blame you… it’s hard to wait for the dough to chill 🙂 Enjoy!
Hi, Why can’t we use the sticks rather than tubs, I got sticks that clearly say they can be used in baking?
Hi! You can use vegan butter sticks rather than vegan butter from a tub. I just recommend the tub variety whenever making vegan cookies because I find it creates better results 🙂 Enjoy! xo
These cookies sound scrumptuous. Is it possible for me to use coconut palm sugar, monk fruit and stevia in place of brown sugar and white sugar?
Thank you, Wanida! I have not tried monk fruit or stevia, but you can substitue with coconut sugar 🙂